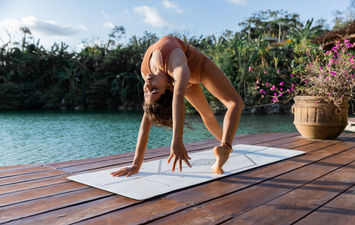
You know the popular image of a yogi all tangled up like a pretzel? Well, much as we try to counter that stereotype, Eagle is one of the poses that actually lives up to it.
All the twisted arms and legs are for a good reason, however, since the traction helps open areas of the body that are otherwise quite hard to access. In the lower body, wrapping your lifted leg lengthens the glutes on that side, plus the muscles that connect the femur to the pelvis, namely the piriformis and the gemelli. Meanwhile, the standing leg is working hard to maintain stability and balance. If it’s difficult to wrap your leg while standing, you can do it while lying on your back to get a very similar stretch.
Up top, crossing your elbows in front of your body elongates muscles in your upper back and shoulders: the lats, the rhomboids, and the trapezii. Again, you can get the same stretch in a seated position, but putting it all together with the standing balance adds strengthening benefits since it works the standing leg and core. Being able to handle a combination of difficult elements in one pose is an indication that you are ready for more advanced postures.
Benefits of Eagle Pose
Stretches the glutes, pelvic muscles, upper back and shoulders
Strengthens the legs and core
Instructions:
1. Begin in Chair Pose (Utkatasana). Release your arms to your sides but keep your legs bent.
2. Lift your right foot off the floor and cross your right thigh over your left thigh. Hug your thighs together. If possible, hook your right foot around your left calf to complete the leg bind. If that doesn’t work, it’s fine to leave your right foot unbound or even to lower your right big toe to the floor to act as a little kickstand if you need to.
3. Lift your torso to a more perpendicular position. Put your hands on your hips to make sure that one of them isn’t sticking out to the side. They should maintain an even Tadasana position.
4. Whichever leg is on top, the opposite side’s arm goes on top. Bring both arms out in front of you parallel to the floor. Cross your left arm over the right arm at the elbow. Bend both elbows so that the forearms are perpendicular to the floor and bring your palms to touch as much as possible.
5. Though your hands are in the way, bring your gaze to a fixed point in front of you to help you maintain balance. Take several breaths in this upright position.
6. For an additional challenge, begin to round your spine and bring your elbows toward your knees. Once you have touched elbow to knee, rise back up to a straight spine. Repeat these crunches several more times.
7. Bring your spine back to a vertical position and release your arms and legs to come out. Shake out your limbs and repeat the pose standing on your right leg.
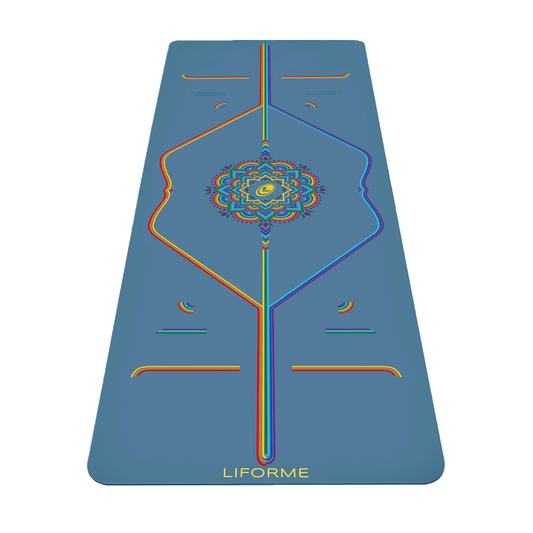
Featured Yoga Mat: Liforme XL Mountain Yoga Mat