$ USD

Although it might seem at first glance that whizzing down the slopes in Gore-Tex and flowing on your yoga mat in spandex don’t have that much in common, yoga can actually do a lot for skiers, including strengthening the lower body, improving core stability and body awareness, and helping with recovery. Let’s take a look at how yoga can prepare you for a day on the mountain and which poses to include in your après-ski wind-down.
Yoga Poses to Prepare for the Ski Slopes
Strength & Balance Poses
Skiing requires endurance, control, and balance, so challenge yourself with some longer hold times in these poses. You’ll get the payoff next time you hit uneven terrain on your descent.
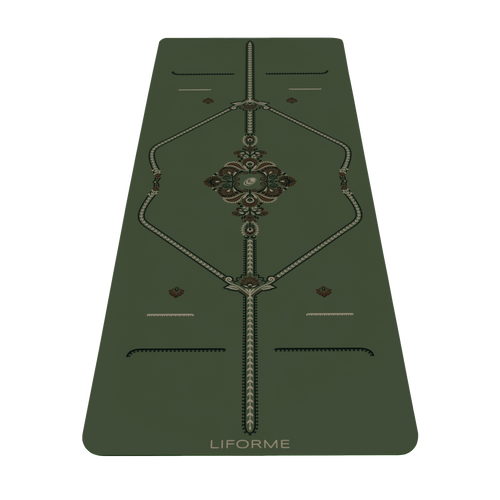
 Featured Yoga Mat: Lifome Classic Yoga Mat in Olive
Chair Pose (Utkatasana)
Sanskrit Meaning: Utkata (Powerful) Asana (Pose)
Yoga Level: Beginner
Pose Type: Standing
Why This Pose: It’s giving ski stance
Step-by-Step Instructions:
1. Stand in Mountain Pose (Tadasana) with your feet parallel. They can be touching or a few inches apart.
2. Bend your knees and lower your hips as if you were going to sit in a chair.
3. Keep your knees aligned with your ankles.
4. Bring your arms overhead.
5. Take five to ten deep breaths.
 Featured Yoga Mat: Radiant Sun in Yellow
Tiptoe Chair Pose
Sanskrit Meaning: Utkata (Powerful) Asana (Pose)
Yoga Level: Beginner
Pose Type: Standing
Why This Pose: Challenges your balance and control
Step-by-Step Instructions:
1. While in Chair Pose, come up onto the balls of your feet.
2. Bend your elbows to a goalpost position or extend your arms along your sides.
3. Open your chest and take your gaze upward.
4. Take three or more breaths, then lower your heels.
 Featured Yoga Mat: XL Mountain
Eagle Pose (Garudasana)
Sanskrit Meaning: Garuda (Eagle) Asana (Pose)
Yoga Level: Intermediate
Pose Type: Standing
Why This Pose: Improves balance and core strength while stretching the upper back
Step-by-Step Instructions:
1. Begin in Chair Pose.
2. Lift your left foot off the floor without shifting your hips.
3. Cross your left thigh over your right thigh, still keeping your hips facing forward.
4. Hook your left ankle around your right calf or bring the ball of your left foot to the floor outside your right ankle for more support.
5. Extend both arms in front of you.
6. Cross your right arm over your left arm at the elbow.
7. Bend both elbows and bring your palms together.
8. Take three to five breaths, then switch sides.
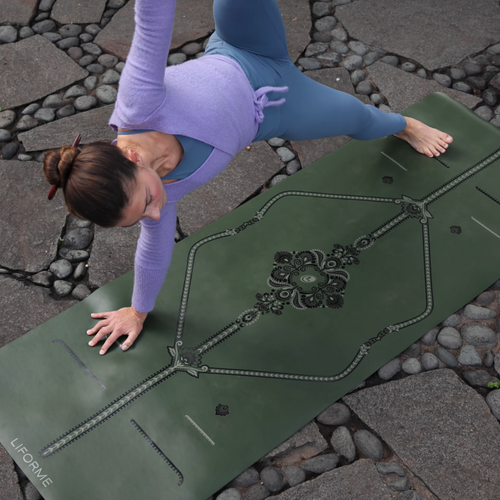
 Featured Yoga Mat: Mindful Garden in Olive
Tree Pose (Vrksasana)
Sanskrit Meaning: Vrks (Tree) Asana (Pose)
Yoga Level: Beginner
Pose Type: Standing
Why This Pose: Practice balancing on one leg at a time.
Step-by-Step Instructions:
1. Begin in Mountain Pose.
2. Lift your left foot off the floor without shifting your hips.
3. Bend your left knee and bring the sole of your left foot to the inside of your right leg above or below your right knee.
4. Press your foot into your leg and your leg back into your foot.
5. Take your arms overhead and your gaze upwards if you feel stable.
6. After five or more breaths, switch sides.
 Featured Yoga Mat: Liforme Classic Yoga Mat in Maroon
Warrior I (Virabhadrasana I)
Sanskrit Meaning: Virabhadra (Hindu Warrior) Asana (Pose)
Yoga Level: Beginner
Pose Type: Standing
Why This Pose: Strengthens your legs in a hip-forward position
Step-by-Step Instructions:
1. Begin in Mountain Pose.
2. Step your left foot to the back of your mat while keeping your hips facing forward,
3. Turn your left toes out around 45 degrees.
4. Bend your right knee over your right ankle, adjusting the length of your stance if necessary.
5. Take your arms overhead, bringing your palms together or keeping them shoulder-distance apart.
6. Lift your gaze to your thumbs.
7. Slide your shoulders down your back as you take five or more deep breaths, then switch sides.
 Featured Yoga Mat: Liforme Classic Yoga Mat in Pink
Boat Pose (Navasana)
Sanskrit Meaning: Nava (Boat) Asana (Pose)
Yoga Level: Beginner
Pose Type: Seated
Why This Pose: Strengthen your core by holding the V position between your torso and legs
Step-by-Step Instructions:
1. Sit on your mat with your knees bent and the soles of your feet on the floor.
2. Lift your feet, bringing your shins parallel to the floor.
3. Lift your arms alongside your body and parallel to the floor.
4. Keep drawing your thighs and your torso together.
5. Take five or more deep breaths.
 Featured Yoga Mat: Cosmic Moon in Dusk Blue
Plank (Phalakasana)
Sanskrit Meaning: Phalaka (Plank) Asana (Pose)
Yoga Level: Beginner
Pose Type: Arm Support
Why This Pose: Strengthens your core and arms
Step-by-Step Instructions:
1. Begin in a hands-and-knees position with your shoulders stacked over your wrists.
2. Extend your legs to the back of your mat one at a time.
3. Press into your palms and maintain a straight line from the crown of your head to your heels.
4. Challenge yourself to hold this alignment for as long as you can.
Mobility Poses
Improving your hip, hamstring, and spinal mobility helps you react quickly and move smoothly, keeping you upright and injury-fre
 Featured Yoga Mat: Radiant Sun in Blue
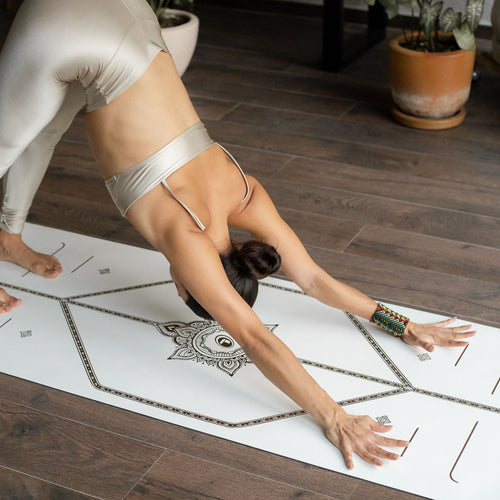
Downward Facing Dog (Adho Mukha Svanasana)
Sanskrit Meaning: Adho (Down) Mukha (Face) Svana (Dog) Asana (Pose)
Yoga Level: Beginner
Pose Type: Standing
Why This Pose: A full-body stretch that opens your hamstrings
Step-by-Step Instructions:
1. Begin in a hands-and-knees position.
2. Curl your toes under and press into your hands to lift your hips toward the ceiling.
3. Straighten your legs, releasing your heels toward the floor.
4. Rotate your upper arms outward to open your traps.
5. Bend your knees one at a time to pedal out your legs.
6. Take five or more deep breaths.
 Featured Yoga Mat: Liforme Classic Yoga Mat in Purple
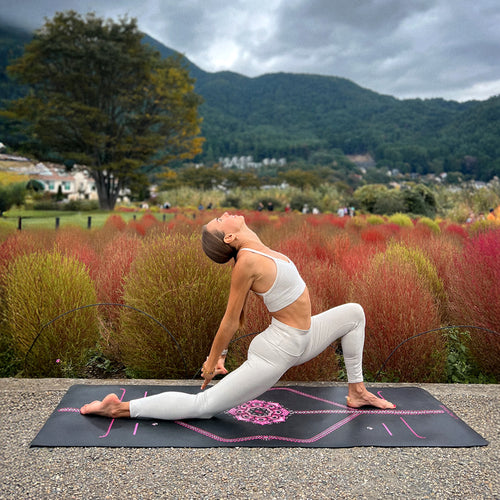
Crescent Lunge (Anjaneyasana)
Sanskrit Meaning: Anjani (Hindu goddess) Asana (Pose)
Yoga Level: Beginner
Pose Type: Kneeling
Why This Pose: Stretches your hip flexors
Step-by-Step Instructions:
1. Begin in a hands-and-knees position.
2. Step your right foot inside your right hand with your knee stacked over your ankle.
3. Lift your arms overhead.
4. To intensify the stretch, deepen the bend in your right knee, moving your pelvis forward.
5. After several breaths, switch sides.
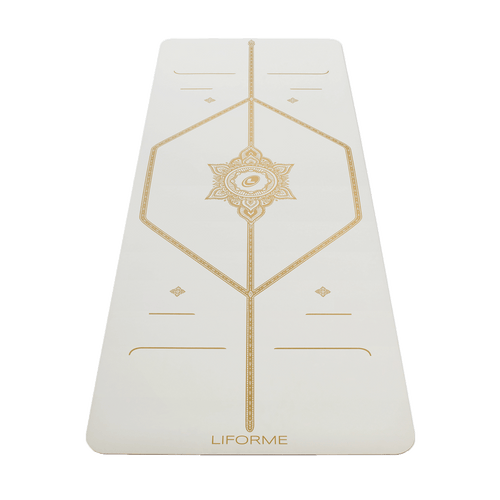
 Featured Yoga Mat: White Magic
High Lateral Lunge (Skandasana)
Sanskrit Meaning: Skanda (Hindu war deity) Asana (Pose)
Yoga Level: Beginner
Pose Type: Standing
Why This Pose: Strengthens the supporting muscles for the knees for side-to-side movement
Step-by-Step Instructions:
1. Begin facing the long side of your mat with your legs in a wide position.
2. Bend your right knee, bringing it over your right ankle.
3. Take your arms to the right.
4. After several breaths, switch sides.
5. Go back and forth a few times.
 Featured Yoga Mat: Cosmic Moon in Black
Standing Forward Fold (Uttanasana)
Sanskrit Meaning: Uttana (Intense Stretch) Asana (Pose)
Yoga Level: Beginner
Pose Type: Standing
Why This Pose: Stretches your hamstrings and releases your spine
Step-by-Step Instructions:
1. Begin in Mountain Pose.
2. Rotate your pelvis forward to come into a fold over your legs.
3. When you’ve reached your maximum rotation, release your upper body and let your arms and head hang heavy.
4. Bring some of your weight into the balls of your feet to keep your hips over your ankles.
5. Take five to ten deep breaths.

Revolved Low Lunge
Yoga Level: Beginner
Pose Type: Standing
Why This Pose: Improves control and stability in turns
Step-by-Step Instructions:
1. Begin in Downward Facing Dog.
2. Step your left foot inside your left hand, coming into a runner’s lunge.
3. Stack your left knee over your left ankle.
4. Ground your right palm and open your left arm to the left, turning your chest towards the ceiling.
5. Turn your face upward.
6. After three to five breaths, switch sides.
Après-Ski Stretches
Before you hit the lodge, hit your mat to release your quads, hip flexors, calves, and lower back. A few minutes dedicated to recovery prepares you to do it all again tomorrow.
 Featured Yoga Mat: Blossming Lotus in Purple
Hero Pose (Virasana)
Sanskrit Meaning: Vira (Hero) Asana (Pose)
Yoga Level: Beginner
Pose Type: Seated
Why This Pose: A deep stretch for your quads
Step-by-Step Instructions:
1. Begin in a hands-and-knees position.
2. Bring your knees to touch and separate your heels.
3. Lower your seat between your heels, optionally taking a block under your
 Featured Yoga Mat: Liforme Classic Yoga Mat in Grey
Reclined Bound Angle (Supta Baddha Konasana)
Sanskrit Meaning: Supta (Reclined) Baddha (Bound) Kona (Angle) Asana (Pose)
Yoga Level: Beginner
Pose Type: Supine
Why This Pose: A supportive counter stretch for your tired legs
Step-by-Step Instructions:
1. Begin sitting in Bound Angle Pose (Baddha Konasana).
2. If you have a yoga strap, make a large loop and put it around your waist.
3. Slide the strap under your feet.
4. Lie down on your back.
5. Breathe here for several minutes.

Low Lunge
Yoga Level: Beginner
Pose Type: Standing
Why This Pose: Stretches your hips and hamstrings
Step-by-Step Instructions:
1. Begin in a hands-and-knees position.
2. Step your right foot inside your right hand.
3. Extend your left foot to the back of your mat, tucking your toes under.
4. Move your hips forward and backward, getting into your hips and hamstrings.
5. After several cycles, switch sides.
 Featured Yoga Mat: Liforme Classic Yoga Mat in Green
Eye of the Needle Pose (Sucirandhrasana)
Sanskrit Meaning:Suci (Needle)Randhra (Opening) Asana (Pose)
Yoga Level: Beginner
Pose Type: Supine
Why This Pose: A supportive way to open your hips
Step-by-Step Instructions:
1. Lie on your back with your knees bent and your soles on the floor.
2. Bring your left ankle to your right thigh close to the right knee.
3. Open your left knee to the left.
4. Lift your right foot off the floor and bring your right knee towards your chest.
5. Hold the back of your right thigh with both hands.
6. Take five to ten breaths, then switch sides.

Seated Spinal Twist (Ardha Matsyendrasana)
Sanskrit Meaning: Ardha (Half) Matsyendra (Lord of Fishes) Asana (Pose)
Yoga Level: Beginners
Pose Type: Seated
Why This Pose: Releases the spine
Step-by-Step Instructions:
1. Begin seated in a cross-legged position.
2. Take the sole of your left foot to the floor on the outside of your right thigh.
3. On an exhalation, twist your upper body to the left, bringing your left hand to the floor behind your back and your right elbow outside your left knee.
4. Elongate your spine on each inhale. Deepen the twist on each exhale.
5. Take five to ten breaths, then switch sides.
Benefits of Yoga for Skiers
-
Improve lower-body strength and endurance
-
Better balance and body awareness
-
Increased hip and Spinal mobility
-
Stabilize the core to protect the lower back
-
Faster recovery between ski days
-
Injury prevention
Tips for Practicing Yoga as a Skier
Be consistent
Get yoga on your schedule. Even a short session on a regular basis is more impactful than dipping in and out of the habit.
Don’t wait until you’re sore
Skiing is a seasonal activity for most people, which means your most effective preparation is in the off-season. You’ll feel the difference in your strength, mobility, and recovery if you do yoga throughout the year.
Snow Days
Whether you’re hitting the lifts all winter or just for the occasional weekend, adding yoga to your exercise routine can make a big difference when the snow arrives. You’ll also feel the benefit of improved strength and mobility in so many other activities throughout the year.
FAQs About Yoga for Skiers
Is yoga good for skiers?
Yes, yoga is a very complementary exercise for skiers because it improves your strength and mobility in critical areas.
Which yoga poses are best for skiing?
Chair Pose is probably the most obvious one, but any standing poses are also great.
Should skiers do yoga before or after skiing?
Ideally, skiers should do yoga year-round so they are in peak condition when the mountains call. After a day on the slopes, the après-ski poses described above will set you up for tomorrow’s runs.
What is après-ski yoga?
Any yoga you do right after skiing to stretch out your tired muscles.
Can yoga help prevent skiing injuries?
Improving your strength and mobility with yoga can help prevent injuries, but, of course, there are no guarantees when it comes to skiing.
How do I stretch out sore legs after a day of skiing?
To focus specifically on your legs, check out our hamstring stretches and hip openers.
Can yoga improve my balance on skis?
Yes! Working your core and leg strength can both help with balance. Also try our 15 best poses for better balance.
How often should skiers practice yoga in the off-season?
Aim for twice a week for the best results. Even once a week can help if you are super consistent.