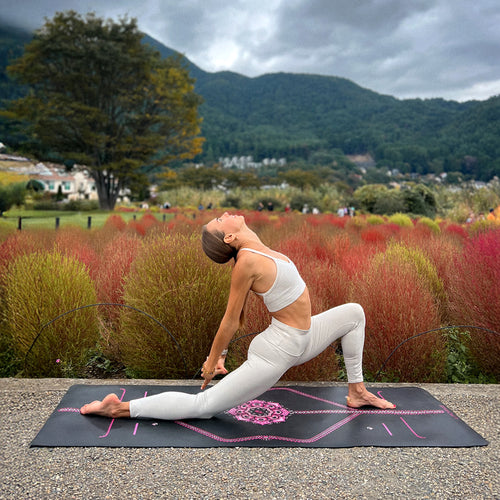
There’s a variation of Baddha Konasana for everyone, which might explain why we see it in so many yoga classes.
Kids find it quite natural to sit in this position, but many of us lose the knack as we grow older. Opening the hips and groins helps counteract the effects of sitting in front of a computer or in a car.
Props, including blankets and blocks, help yoga beginners find a comfortable seat in which they can keep a long, straight spine. More advanced students can deepen the posture by forward folding, taking the stretch from the inner thighs into the lower back.
Bound Angle Pose Basics
Sanskrit Meaning: Baddha (Bound) Kona (Angle) Asana (Pose)
Also Known As: Cobbler’s Pose, Butterfly Pose
Yoga Level: Beginner
Pose Type: Seated
Benefits: Stretches the hips, groins, shins, and feet.
Precautions: Avoid if you have a groin or knee injury.
Props: Blocks and blankets support good posture and safe stretching.
Key Alignment Cues to Keep in Mind
- Sit on something (blocks or blankets) that raises your hips above your knees, especially if your spine rounds when you sit on the floor. Stack your props as high as it takes to get your knees below your hips.
- Press your feet together to create active engagement in the legs as you stretch.
Step by Step Instructions
- Come to sit on your mat with your knees bent and the soles of your feet on the floor.
- Open your knees to either side like a book and press the outer edges of the soles of your feet together (this puts the bind in Bound Angle).
- Slide your feet as close to your body as possible.
- Place your hands on your thighs or your feet. If you hold your feet, you can use that traction to straighten your spine.
- Slide your shoulder blades down your back and keep your head in a neutral position.
- Stay upright or begin to come into a forward bend by tilting your pelvis forward.
- As you forward bend, you can apply light pressure to your inner thighs with your forearms.
- Once you come to your full forward rotation, you can place a block under your forehead if that feels supportive.
Beginners Tips
- If you can’t sit on the floor without rounding your spine, sit up on a block or two to raise your hips above your knees. This allows your spine to straighten and can be a real game changer.
- Take a block under each knee for support if your knees are dangling.

Variations of Bound Angle Pose
Reclined Bound Angle Pose (Supta Baddha Konasana)
Remove any props from under your seat before coming to lie down on your back with your legs in a Baddha Konasana position. You can keep a block under each knee if it feels good.
Head to Knee Pose (Janu Sirsasana)
In this pose, one leg stays in a Baddha Konasana position while the other leg is extended straight in front of you.
Get Comfortable
Using props when necessary as a yoga beginner helps you establish healthy alignment habits that carry through as your body begins to open. Over time, Bound Angle Pose may come to feel as natural as when you were a child.
Featured Mats: Liforme Blue Yoga Mat, Liforme Mindful Garden Yoga Mat