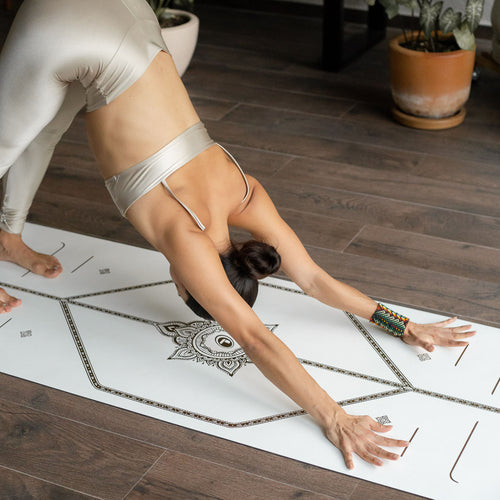
How many times have you heard ‘There’s no way I can do yoga! I can’t even touch my toes!’? Aside from the fact that touching any toes is completely irrelevant to starting a yoga practice, here’s a little secret for you: it’s easier to touch your toes if you take it one foot at a time. Janu Sirasana makes this abundantly clear.
Head-to-Knee Pose Basics
Sanskrit Meaning: Janu (Knee) Sirsa (Head) Asana (Pose)
Yoga Level: Beginner
Pose Type: Seated
Benefits of Head-to-Knee Pose:
• Elongates your hamstrings
• Stretches your calves.
• Stretches your back.
• Improves body awareness.
Key Alignment Points to Keep in Mind
1. Orient Your Torso
Before you forward bend, make sure your torso is lined up over your extended leg. You’ll need to twist a little bit from centre toward your extended leg to get there.
2. Keep your Spine Long
As in any forward bend, rotate forward from your pelvis with a long spine instead of rounding the spine to get there.
3. Flex Your Feet
Keep the foot on your extended leg flexed to activate your whole leg. Flexing the foot on your bent leg helps keep your knee safe.
Step By Step Instructions
1. Come to sit in Staff Pose (Dandasana) with both legs extended in front of you.
2. Bend your left knee and draw your left heel toward your groin. As you do this, your left knee opens out to the left. Keep your left foot flexed.
3. Turn your upper body slightly to the right so that your torso is oriented directly over your right leg when you forward fold.
4. On an inhalation, draw your spine long and lift your arms overhead.
5. On an exhalation, tip your pelvis forward to rotate into a forward bend over your extended right leg.
6. Once you reach your full extension, bring your hands to either side of your right leg or hold onto your right leg or foot for more traction.
7. Stay in your forward fold for several breaths before returning to an upright seated position.
8. Repeat the posture with your left leg extended.
Why We Practice Head-to-Knee Pose
• Taking your hamstring and calf stretch one leg at a time feels really nice and allows you to focus your attention on each leg in turn.
• This can result in a deeper forward fold than you might get stretching over both legs.
Preparatory and Counter Poses
Preparatory: It’s helpful to warm up your muscles before you do seated stretches. A sequence like Sun Salutations that includes standing forward bends and hamstring stretches is ideal.
Counter: Open your chest to counter your forward fold by taking Camel or Fish Pose.
Take it One Leg at a Time
Make Janu Sirsasana your go-to stretch if you have tight hamstrings. It’s amazing for runners and other athletes as part of your cool-down routine.


