Paschimottanasana may trigger one of those dreaded “I can’t touch my toes!” moments for new yogis, but never fear. Touching your toes is not the object of this (or any) yoga forward fold. Instead, it’s a byproduct of opening your hamstrings. If that still makes you nervous, don’t worry. There are versions of this posture for all yoga levels and many ways to adapt it to fit your body.
Seated Forward Fold Pose Basics
Sanskrit Meaning: Paschima (West; the back of the body) Uttana (Intense Stretch) Asana (Pose)
Yoga Level: Beginner
Pose Type: Seated
Benefits:
• Opens your hamstrings
• Stretches your back
Key Alignment Cues
1. Rotate Your Pelvis
A lot of people forward bend by rounding their spines. In yoga, there’s a different approach. Forward bends originate in the pelvis. Picture your pelvis tipping forward to rotate your upper body forward over your legs.
2. Lift your Seat
If it’s difficult to sit on the floor with a straight spine, take a folded blanket or bolster under your seat to elevate your hips.
3. Keep Your Spine Long
There are versions of this pose with a rounded spine, but we prefer to keep the back straight. You may not go as deep, but you get more benefits.
Step-by-Step Instructions
1. Begin seated in Staff Pose (Dandasana) with your legs outstretched and your spine long. Use padding under your seat if desired.
2. Flex your feet to engage your legs.
3. Inhale and lift your arms overhead.
4. On an exhalation, begin your forward fold. Remember to tip your pelvis forward to initiate your movement.
5. It can take several breaths to come into your fullest fold. Lengthen your spine on your inhales and deepen your fold on your exhales.
6. Hold onto your toes, feet, ankles, or legs. Use that traction to pull yourself a little deeper.
7. Once you’ve come down as far as possible, hold the position with a straight spine for a few breaths.
8. Sit back up on an inhalation.
Beginner Tips
1. It doesn’t matter if your fingers reach your toes or not. You can take hold of your feet, ankles, or outer calves instead. Prioritize keeping your spine straight and your shoulders in their sockets.
2. A strap is a really nice option in this posture for yogis of any level. Place the strap around your insteps and hold one end in each hand. Pull on the strap to come forward.
Preparatory Poses
Warming up your hamstrings is a good idea. Seated stretches are often done at the end of a yoga session for this reason.

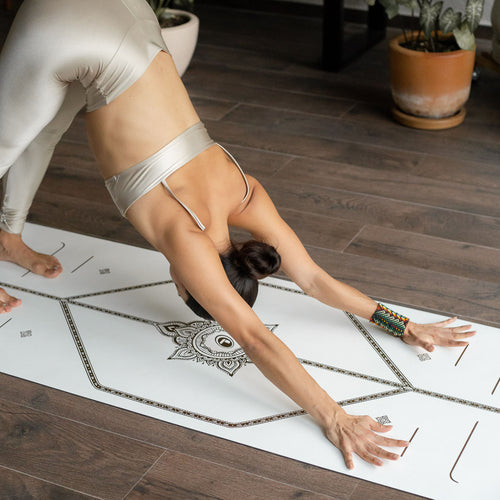
Downward Facing Dog (Adho Mukha Svanasana)
Peddle your legs by bending one knee at a time while you release the other heel toward the floor.

Standing Forward Fold (Uttanasana)
This is the same position as Paschimottanasana rotated 90 degrees. Your forward fold in Uttanasana benefits from gravity, so it’s a good way to prepare. You can also get a better feel for the action of rotating your pelvis in a standing position, which you can then apply to a seated position.
Counter Poses

Altar Pose (Reverse Table Top)
To counter the opening of the back of your body in Paschimottanasana, gently open the front of your body.
Why We Practice Paschimottanasana
Practice this seated forward bend to elongate your spine and hamstrings and remind yourself that touching your toes isn’t really an important part of yoga after all.


