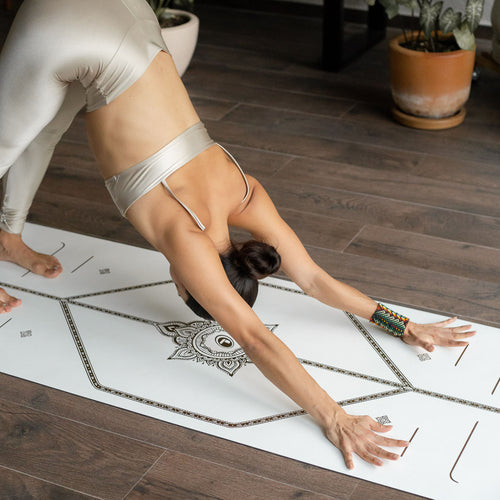
Wheel Pose, Urdha Dhanurasana, or Upward Facing Bow, is a yoga position with deep spinal extension, also known as a backbend. Because it requires strength, flexibility, and balance all at once, setting up with good alignment is crucial.
Step-by-Step Instructions for Wheel Pose
- Lie on your back with your knees bent toward the ceiling and the soles of your feet flat on your mat. Take your feet hip’s distance apart or a little wider.
- Bend your elbows toward the ceiling and bring the palms of your hands flat on your mat on either side of your ears with your fingers pointing toward your feet. Take your palms shoulder’s distance apart or a little wider.
- Engage your glutes and press into your hands and feet to lift your pelvis off the mat, bringing the crown of your head to the floor.
- Take this pit stop to make sure your elbows are over your wrists and your feet are still parallel to each other. Make any necessary alignment adjustments and firm your shoulder blades onto your back before proceeding.
- Straighten your arms to lift your head off the floor and your pelvis toward the ceiling. Some people like to go up on an inhalation of breath for extra lift, while others prefer to go up on an exhalation for extra power.
- Keep your feet as close to parallel as possible.
- Draw your shoulder blades onto your back and blossom your chest open.
- Let your head hang heavy.
- After 5-10 breaths, tuck your chin slightly and bend your arms to lower slowly back to the mat.
🧘 Tip from a Yogi
"Traditional alignment is quite strict about keeping the feet and hands at hip and shoulder distance apart, respectively. While this is still a good rule of thumb, many contemporary teachers allow that taking the hands and feet a little wider here can make this posture more comfortable and accessible without sacrificing its integral structure."
Wheel Pose Basics
Sanskrit Meaning: Urdhva (Upward) Dhanu (Bow) Asana (Pose)
Yoga Level: Intermediate
Pose Type: Supine backbend
Pose Category: Backbend, heart opener
Benefits of Wheel Pose
- Strengthens the muscles of the legs, buttocks, arms, and back
- Opens the chest and stretches the wrists and abdominals
- Improves spinal mobility and flexibility
- Counters the effects of sitting
Urdhva Dhanurasana Key Alignment Cues
1. Engage the Glutes
Use your glutes to lift the pelvis, then keep them toned rather than clenched so your lower back stays spacious.
2. Knees Hugging the Midline
If your knees want to splay out, imagine you’re gently hugging a block between your thighs.
3. Elbows Aligned with Shoulders
The elbows also often drift east and west. Keep them in line with your shoulders.
Wheel Pose Variations

One-Legged Wheel Pose (Eka Pada Urdhva Dhanurasana)
From Wheel Pose, shift your weight into one foot and keep your pelvis level as you draw the opposite knee in towards your chest.
This variation adds a big strength and stability challenge, helping you build more control through the glutes and core.
Preparatory Poses

Bridge Pose (Setu Bandhasana)
A great stepping stone that builds glute and leg strength while introducing the same backbend shape in a more supported way.

Upward Facing Dog (Urdhva Mukha Svanasana)
Practice chest opening and spinal extension without the overhead shoulder challenge of Wheel.

Camel Pose (Ustrasana)
A strong front-body opener that prepares the hip flexors, chest, and upper back for deeper extensions.
Counter Poses

Supine Spinal Twist (Supta Matsyendrasana)
A gentle twist can help release tension and bring the spine back to neutral.

Happy Baby (Ananda Balasana)
Opens the hips and decompresses the lower back.

Child’s Pose (Balasana)
A classic resting posture to settle the breath and release the back body.
Why We Practice Wheel Pose
There’s nothing quite like the chest expansion and deep spinal extension you get in a full Wheel. It often comes at the end of a yoga practice when your back and shoulders are nice and warm, and feels like the peak pose you’ve been working up to.
Wheel Pose FAQs
What is Wheel Pose good for?
Wheel Pose opens your chest while toning your abdomen, thighs, back, and arms. As a challenge posture, Wheel can boost your confidence and give you an energy boost.
How long should you hold Wheel Pose?
Try to hold your Wheel for at least 3 slow breaths. As your practice progresses, you may be able to go for longer holds.
What are the common mistakes in Wheel Pose?
Rushing into the posture without properly establishing your alignment.
Is Wheel Pose beginner-friendly?
Wheel Pose is not usually a beginner pose, since it requires open shoulders and full-body strength. If you’re new to backbends, start with Bridge Pose and other prep poses, then work up to Wheel gradually with consistent practice.


