Yoga asana is a whole-body experience. Whatever posture you are doing, extend your energy from your twinkle toes to your bright fingertips. It’s easy to push these extremities down your priority list at first. You have bigger issues on your mind, like not falling down.
Once your body gets accustomed to the basic poses, however, bringing extra attention to the hands and feet keeps you in the present moment so you don’t zone out. Forrest Yoga founder Ana Forrest can be credited with popularising an emphasis on active hands and feet, which she considers one of the cornerstones of her method.
 Feet First
Standing Poses
When your feet are on the mat in standing poses like Warrior I or Uttanasana, make sure that you have a stable foundation by grounding down through the entire foot. When you put too much weight in the heels it causes your hips to rock back, which messes with your alignment. Instead, bring equal weight into the ball of your foot.
You don’t want to white-knuckle your toes with your grip on the floor. Firm into the ball of your foot to lift your toes off the ground. While the toes are lifted, spread them as wide as you can before releasing them to the floor. Then, keep them engaged but not grasping.
Foot Elevated
When you have a foot in the air, as in Downward Facing Dog Split or Eka Pada Galavasana, don’t let your foot hang off the end of your leg like a wet noodle. You can choose whether to flex, point, or floint (flex + point, AKA Barbie feet) the foot, but make sure that the toes are spread and alive at all times. You don’t want the energy of your extension to trail off like an ellipsis but rather to be firmly punctuated with an exclamation point.
Seated Poses
Be aware of what your feet are doing in seated poses too. In Ardha Matsyendrasana, for instance, the foot that is flat on the floor often gets compromised in an attempt to take a deeper twist. That foot should be your anchor point, even if it means you have to let up on your rotation a bit. Active feet in cross-legged poses and Pigeon also help stabilise your knee joint.
Handy Guide
Hands Down
In poses where the palms are on the floor, your arms are usually supporting at least some of the body’s weight. Paying special attention to the hands in these positions helps maintain healthy wrists
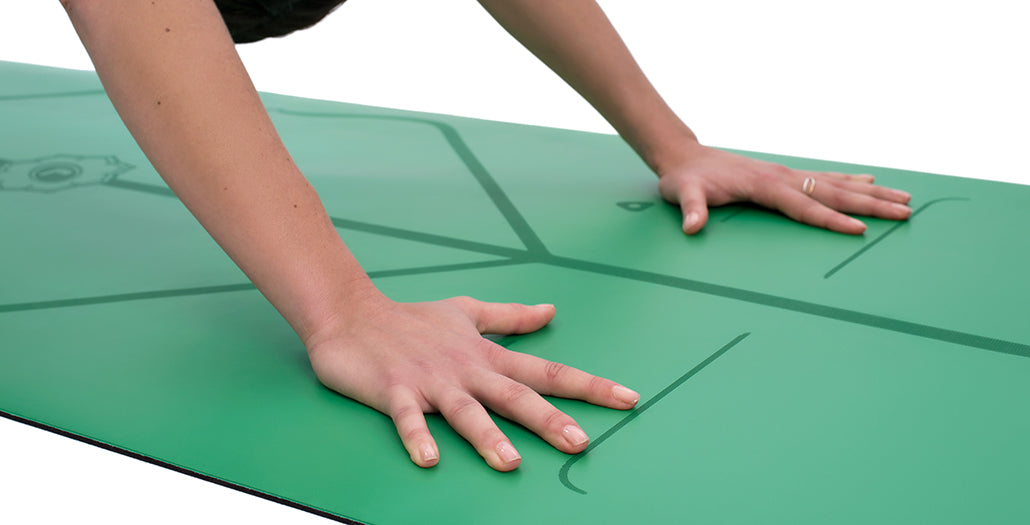
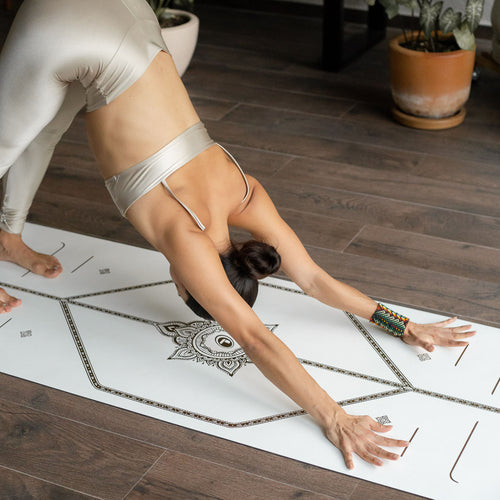
Let’s take a look at Downward Facing Dog as an example. Your fingers should be spread as wide as possible with the middle fingers of each hand parallel to each other. Try to bring weight into every fingertip.
As you do this, your palms can start to dome slightly off the mat. Imagine that you could slip a smooth, flat rock under there. Distributing the weight this way takes some of the pressure off your wrists. This hand position is sometimes called Hasta Bandha. Try to do it in any pose where the arms bear weight (Plank, Crow, etc.)
Hands in the Air
When your hands are in the air in poses like Warrior II and Ardha Chandrasana, finish the pose by extending your fingers and letting them radiate energy. This emphasizes the difference between going through the motions and fully embodying each posture.

Let It Go
Learning to relax your hands and feet during Savasana is just as important as engaging them during asana practice.
When you come to your position of final relaxation, check in with your feet. You may find that you are unconsciously holding them upright. Let them go so that they fall open to either side instead.
When the palms are turned open, it’s natural for the fingers to curl up. Let them do their thing without interfering. During this time, stop shooting your energy out in all directions and instead draw it back inwards and find complete release.


