Balancing postures are an integral part of the physical practice of yoga. They’re important because they require a type of strength and focus that most of us aren’t actively cultivating in our day-to-day lives. Tree Pose is often the first balancing posture that yoga students tackle.
When you start to practice standing balances, it’s normal to feel wobbly and unstable. You might have to step out to avoid falling. You’re learning to use your body in a new way. This strengthens muscles and neural pathways. Core strength, which is so important for all kinds of sports, preventing back pain, healthy aging, and getting out of bed in the morning is the key to finding balance.
Benefits of Tree Pose:
Improves leg and core strength
Improves balance and focus
Gentle hip opener
Instructions:
1. Come to stand in Mountain Pose (Tadasana). The first step is to establish balance and attention with both feet on the floor in this stable posture.
2. Transfer your weight onto your right foot by lifting your left foot away from the floor. Pause here with the left foot hovering above the ground. Soften your right knee slightly to avoid locking or hyperextending the joint.
3. Bend your left knee and open it to the left. Place the sole of your left foot onto the inside of your right thigh. You can use your hands to position your foot. It’s also ok to put your left foot on the inside of your right calf if the thigh isn’t accessible. Avoid placing your foot on the side of your knee since you’ll be exerting some pressure with your foot and the knee joint is vulnerable.
4. Once you have your foot situated, bring your hands to your hips to make sure they have stayed even. The hip of your standing leg has a tendency to want to jut out to the side as your foot presses into your opposite thigh. Bring your hips back into a squared Tadasana position if they have shifted.
5. Maintain the micro bend in your right knee. Press your left foot into your right thigh and counter that pressure by pushing the thigh back into your foot. Open your left knee a bit more to the left if you can.
6. Bring your hands to Anjali mudra at your heart. Without altering the position of your head, bring your gaze to the floor a few feet in front of you. Find something that doesn’t move, like a knot in the wood floor, to fix your eyes on. If you feel stable, lift your arms overhead.
7. After several breaths, release your left foot to the floor. Shake out both legs and then repeat the pose standing on your left leg.
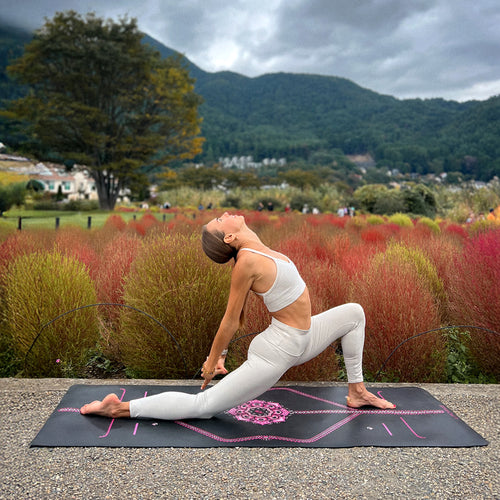
Featured Yoga Mat: Liforme Yoga Mat in Grey