Chair Pose (Utkatasana)
Begin in Chair pose with your hands in Anjali mudra at your heart.

One-Legged Chair Pose (Figure-Four) (Eka Pada Utkatasana)
1. Transfer your weight into your left leg to prepare to lift your right foot off the floor.
2. Keeping your left leg bent in Chair position, lift your right foot and place your right ankle on the top of your left thigh with the right knee pointing out to the right.
3. Flex your right foot strongly and keep your butt low.
The position of the legs here resembles the number four, so this posture is sometimes called Figure-Four.
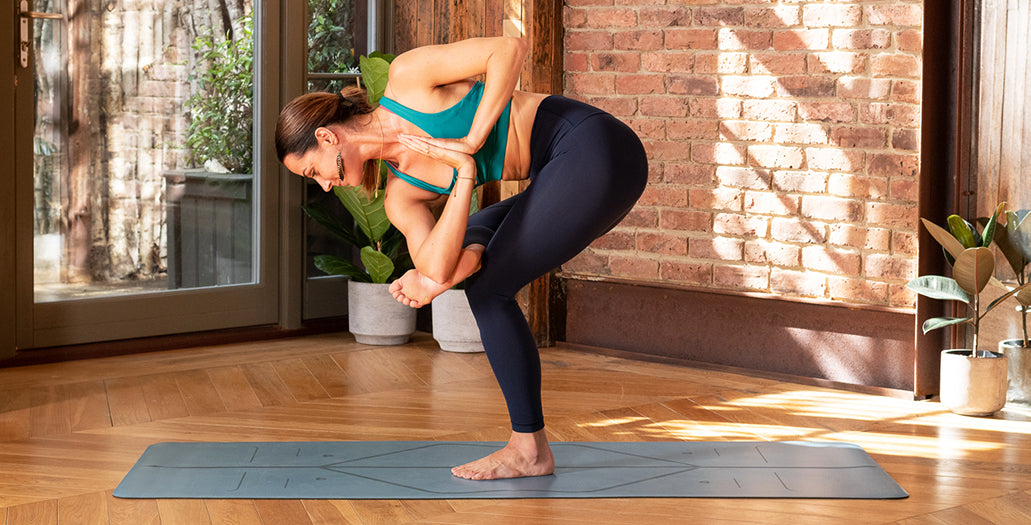
Revolved One-Legged Chair Pose (Parivrtta Eka Pada Utkatasana)
1. Still maintaining the Chair position in your left leg, on an exhalation twist your torso to the left, keeping Anjali mudra at the heart.
2. Deepen your twist and bend your left leg until you can bring the outside of your right upper arm into contact with the sole of your right foot.
3. Once you have traction between the upper arm and sole of foot, see if you can twist a little more on your exhalations.
4. Keep the right foot flexed.

Squat and place your hands on the floor
1. After several breaths, begin to squat even deeper into your left leg so that eventually your hands come to the floor to the outside of your left foot. You’ll be on the ball of the left foot.
2. Flatten your palms to the floor. Your torso stays in a deep twist and the sole of the right foot never loses contact with the right arm.
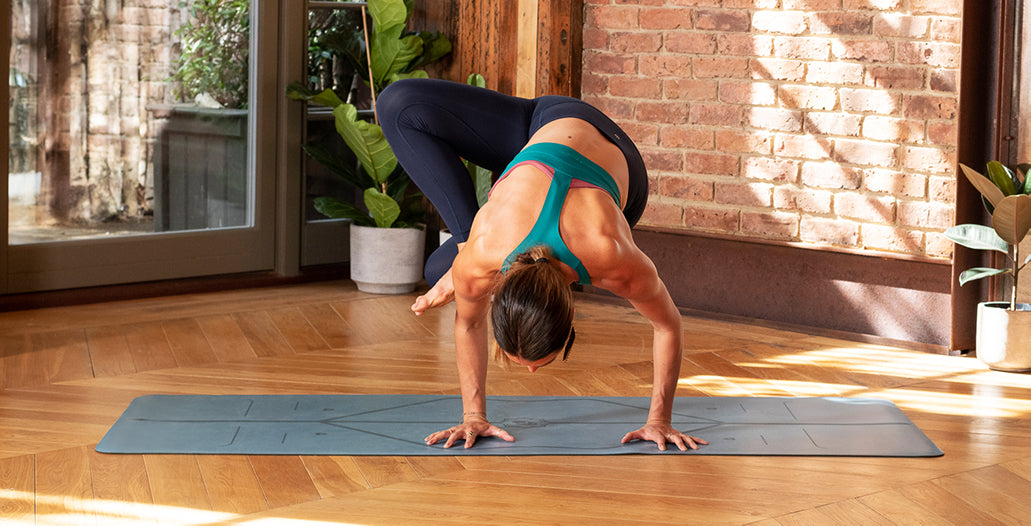
Balance on your hands
1. Start to bring your torso forward, bending your elbows back to a Chaturanga position.
2. The right foot comes to stand on the shelf made by the right upper arm.
3. The left hip can be supported by the shelf made your left upper arm. If you have a stronger arm balance practice, bring the left elbow out from under your hip so that your weight is primarily on your right arm.
4. Continue bringing your torso forward until all your weight is in your hands and your left foot can float away from the floor
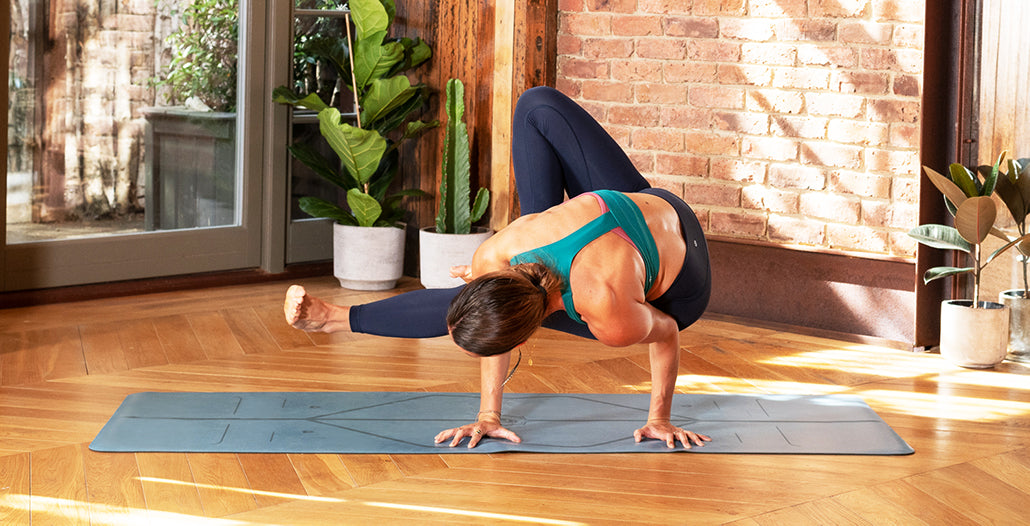
Extend your leg
1. Icing on the cake, cherry on top, extend your left leg straight out to the left.
2. Flex strongly into the left foot.
3. Make sure to maintain Chaturanga position in the arms throughout, meaning that your shoulders don’t dip toward the floor but instead stay at elbow level. Engage your core to lift your shoulders.
Lower to the floor and do the other side!
With this step by step approach, you can stop anywhere along the way. Maybe you need to work on getting the twist. Maybe you get hung up when it comes time to balance on your hands. Maybe you need that left elbow tucked under the left hip for support. It doesn’t matter how far you come along the path. Working consistently through the steps will bring improvements. Since Grasshopper has a very similar shape to Side Crow, practising that pose is another effective way to prepare.