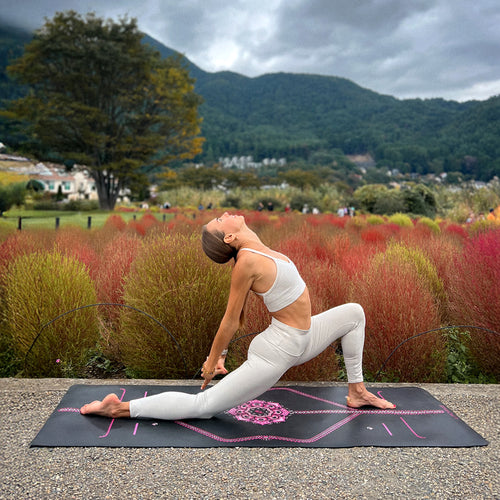
Standing Split is a beginner-friendly yoga pose with so many benefits. Standing on one leg improves your balance and quad strength, while forward folding stretches your hamstrings. It’s also a good place to cultivate body awareness, especially around hip alignment.
Step-by-Step Instructions for Standing Split Pose
1. Stand at the front of your mat in Mountain Pose (Tadasana).
2. Come into a Forward Fold (Uttanasana), taking your hands to the floor a few inches in front of your feet.
3. Shift your weight onto your right leg and lift your left leg straight up and back.
4. Keep both hip points oriented toward the floor.
5. Flex or point your left foot to activate your whole leg.
6. After several breaths, you can experiment with stacking your left hip over the right, which will allow you to lift your left leg higher.
7. Moving back and forth between closed and open hip alignment is a good way to get a feel for the difference and observe their effects.
8. Return your left foot to the floor beside your right foot.
9. Repeat the posture standing on your left leg this time.
Standing Split Pose Basics
Sanskrit Meaning: Urdhva (Upward) Prasarita (Spread Out) Eka (One) Pada (Foot) Asana (Pose)
Yoga Level: Beginner
Pose Type: Standing Inversion
Muscles Targeted: Hamstrings, quads, glutes
Benefits of Standing Split Pose
· Stretches your hamstrings
· Improves core and glute strength
· Improves your balance
· Enhances body awareness

Key Alignment Cues
1. Hips square or hips open?
Decide whether you want to maintain the hips square position of Mountain Pose or open your hips, stacking one over the other. If you're not sure, read more about hip alignment.
2. Height is not the goal
A higher lifted leg is not a better pose. Focus on the sensations in your standing leg instead.
3. Release your head
Let your head hang heavy toward the floor.
Core Strength: The Key to Standing Split Pose
Though you need leg strength for standing balances, a strong, engaged core is also super important. The core is more than just abs. It includes the muscles that support your back and surround your pelvis.
Together, this group of core muscles connects your upper and lower body, controls your posture and mobility, and is critical to balance.
Direct your attention to your core to activate your awareness and draw your navel gently towards your spine to engage your abs and support your spine.
Beginner Tips for Standing Split Pose
· Use Blocks: If your hands don’t easily come to the floor in Uttanasana, use blocks under them. To lift your leg safely, your hands should be supported by the floor or blocks.
· Microbend your knee: Avoid locking your knee in the standing leg. A slight softening of your knee makes balance easier and still stretches the hamstrings.
Variations of Standing Split Pose

Open Hips Standing Split
As mentioned above, stacking one hip over the other is a slightly different pose. It often allows you to lift your standing leg higher. Experiment with both hip positions and observe the differences you feel.
Balancing Standing Split Pose
Bring one or both of your hands to your standing leg to challenge your balance even more.
Preparatory Pose

Downward Facing Dog (Adho Mukha Svanasana)
Stretch the backs of your legs in a pose like Downward Facing Dog. Peddle your feet by bending one knee at a time to wake up your hamstrings.
Counter Pose

Standing Forward Bend (Uttanasana)
After doing Standing Split on each leg, bend your knees and hang heavy in a floppy forward fold. You can also do this between sides.
Why We Practice Standing Split Pose
The more you do yoga, the more you realize that many advanced poses are just basic poses rotated slightly. Standing Split is a lot like Pyramid Pose, just shifted a few degrees forward. Making these connections and building on poses you know is one of the joys of this lifelong practice.
FAQs
What is Standing Split Pose good for?
Standing Split is primarily good for improving your balance, strengthening your core, and opening your hamstrings.
Is Standing Split Pose suitable for beginners?
Yes, Standing Split is a great pose for beginners. Use blocks under your hands if your hamstrings are tight, and be patient as your flexibility and strength improve.