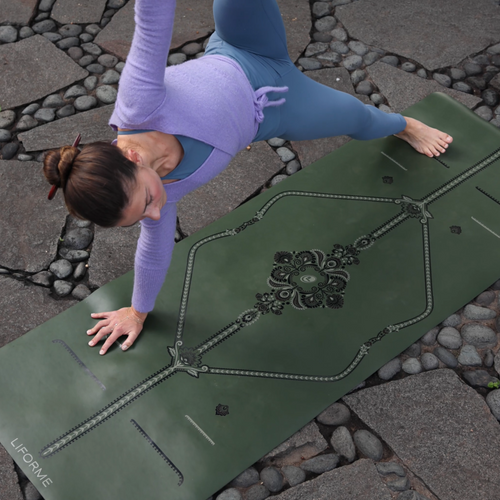
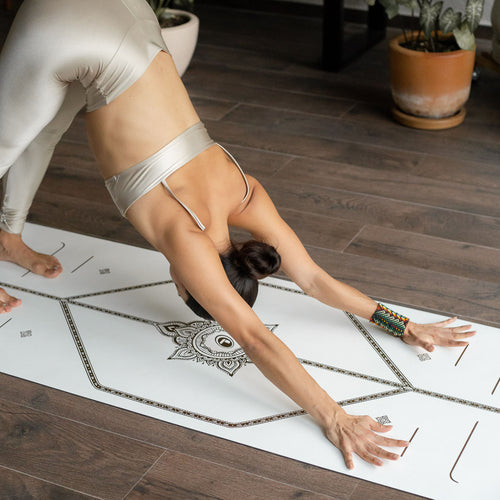
You’ll definitely say hello to your hamstrings and hips in this classic standing yoga posture, but the lower body is only part of the picture. In the upper body, you want to make sure that you can really open your chest toward the ceiling. A strong and stable foundation in the legs makes this heart opening possible. (We often call this relationship ‘root to rise’). If placing your bottom hand on the floor comprises your ability to open the chest, it’s time to use a block under that hand to promote safe and beneficial alignment. And, lest we forget the middle body, you’ll also be strengthening your core as you work to keep your balance.
Benefits of Triangle Pose
Stretches the hamstrings and hips
Opens the chest
Improves core strength
Instructions:
1. Warrior II offers a good point of entry to Triangle Pose because the foot and hip alignment are the same for both poses. From Warrior II, simply straighten your front leg.
Otherwise, take a wide standing straddle with your feet parallel. Pivot on the heel of your front foot (let’s assume it’s the right foot) and turn your right toes toward the front edge of your mat. Line up your right heel with your left arch along the Central Line. If your hips and hamstrings are tight or if you have lower back issues, you may find more stability in taking wider stance. In this case, heel-toe your right foot away from the Central Line toward the right side of your mat.
2. Keep both hips facing the left side of your mat. Stack your shoulders over your hips and lift your arms to shoulder height.
3. On an inhalation, begin to reach your right arm forward toward the horizon, deepening your right hip crease. Engage your right thigh muscles and draw your femur into its socket.
4. On an exhalation, lower your right hand toward your right shin/ankle/the floor inside or outside your right foot. At the same time, lift your left arm toward the ceiling so that your arms move as one unit. Make sure that you haven’t stuck out your butt along the way and if you have, realign by bringing your outer right hip back toward the Central Line.
5. What to do with your right hand? As you can tell from the last step, there are a lot of different options. Finding the right one for you may involve a little trial and error. Here are the basic choices:
- Hand to Shin or Ankle: We like this variation because it allows you to use your body as a prop. You choose where to place your hand along your leg. It also helps you maintain your balance and hip alignment by keeping your hands and foot in a single plane.
- Hand to Floor or Block: A lot of people also like placing their lower hand on the floor either inside or outside the front foot. Inside tends to be a little more accessible, but can also lead to the butt sticking out, so watch for that. In either case, if the floor feels too far away, place a block under your hand on any of its three possible heights. If you use a block, you can also choose to place it a bit behind your foot (closer to the knee) if that facilitates your heart opening.
- Hand to Big Toe: This is the Ashtanga variation of choice.
- Floating Hand: In this variation, your arm presses into the inside of your right leg for traction but your hand remains lifted off the floor. This presents more of a balance challenge.
6. Once your hand is situated, make sure your left shoulder is stacked over the right one, and open your chest toward the ceiling. Readjust your bottom hand as necessary if you find your chest is still angled toward the floor. Your arms form a straight line that is perpendicular to the floor.
7. Activate the fingers of your top hand and turn your head to bring your gaze up to your fingertips if possible. If this is hard on your neck, you can bring your gaze to the side or down, just make sure your chest stays open.
8. Check your hip alignment one more time, bringing your right hip back toward the midline if it’s drifted out to the side again.
9. Ideally, you want to keep a micro bend in your front knee. To do this, soften the knee just slightly so you still get a good hamstring stretch but you’re not putting pressure on your joint. This is particularly important for hyper-extenders.
10. Stay in the posture for around five breaths, then come back up to an upright position and repeat the process with your left leg forward.


