Yoga’s Warrior poses take their name from Virabhadra, a fierce manifestation of the Hindu god Shiva. These postures inspire fiery strength and intensity, countered by a healthy dose of cool, precision alignment. For that reason, we’re taking the Warrior poses out of numerical order to focus your attention on your hip position in each posture.
We’ll tackle the forward-facing “closed hip” poses first and then move into the side-facing “open hip” poses. Along the way, you’ll feel the burn in your legs, work on your balance, improve your body awareness, and stretch into some hard-to-reach areas. Take a few breaths in each pose for a slow flow or move through more quickly to build some heat.
 Warrior I (Virabhadrasana I)
As with any standing pose, your foot placement is the foundation for your alignment. In Warrior I, you’ve probably heard to line up the front and back heels. However, in many bodies, a strict adherence to this set-up doesn’t allow the hips to fully face forward.
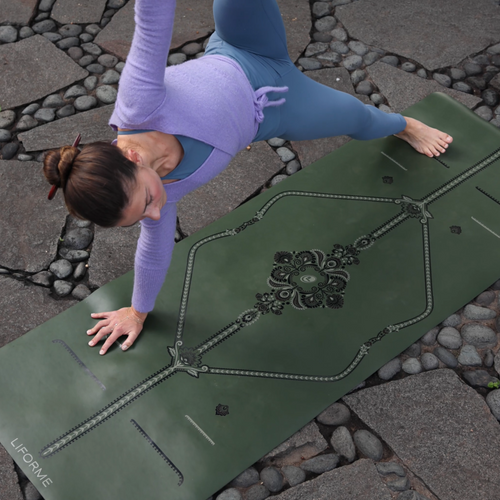
Try taking your feet a little bit wider to either side of the Central Line instead. In fact, you can take the feet quite a bit wider if that’s what it takes to get both hip points facing forward. Just make sure to keep your front toes facing forward and your back toes turned out about 45 degrees.
1. Once your feet are set, bend your front knee directly over your front ankle to bring your front thigh parallel to the floor.
2. Press into the outer edge of the back foot to keep engagement through the entire back leg.
3. Bring your palms to touch or keep them shoulders’ distance apart overhead. Release your shoulders away from your ears and take your gaze upwards.
 Humble Warrior
In Humble Warrior, the legs are exactly the same as in Warrior I.
1. Interlace your fingers behind your back and forward fold to the inside of your front leg.
2. There’s a tendency to want to stick out your butt as the upper body goes down, so keep drawing your front hip strongly back as you release your head toward the floor (most people won’t get all the way there).
3. You can take your arms further overhead toward the front of your mat but keep your shoulders moving away from your ears.

Warrior III (Virabhadrasana III)
In Warrior III, your back foot comes off the floor, but the orientation of your hips stays the same as Warrior I. You can probably lift your leg higher if you open your hip, but that’s not what we’re going for here. Keep both hip points pointing forward even if it means you can’t lift your leg as high.
1. Lift your torso to a flat-backed position.
2. You can keep your hands interlaced behind your back as in Humble Warrior or release them and take a different arm position (arms forward, arms back alongside the body, hands in Anjali Mudra at the heart).
3. Begin to transfer your weight into your front leg, keeping your front knee slightly bent.
4. Lift your back foot away from the floor while flexing the foot strongly.
5. Bring your back leg towards parallel to the floor.
6. Gaze down.

Warrior II (Virabhadrasana II)
Now we’re going to move to the open hipped position.
1. From Warrior I, open your hips and shoulders so that your pelvis and chest are now facing the side of your mat.
2. Turn your back foot to 90-degree angle (parallel to the back edge of your mat).
3. Reach your arms wide to the front and back of the mat, roughly parallel to the floor.
4. Lengthen and widen your stance as necessary to keep your front knee over your ankle.
5. Move your shoulders away from your ears and take your gaze out beyond your front fingertips.

Reverse Warrior
As you move to Reverse Warrior, keep your legs in the same stance as Warrior II, making sure to maintain your front knee directly over your front ankle.
1. Trace a wide arc with your front fingertips as you lean your upper body back, stretching your side body.
2. Let your back hand come to rest on your back leg, but don’t put pressure into that hand.
3. Take your gaze up toward the ceiling.
Repeat the sequence on the other side.
To make a longer yoga session, combine with Sun Salutations and other standing poses.


