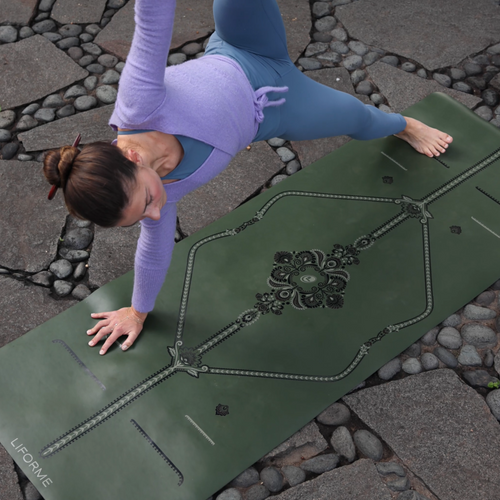
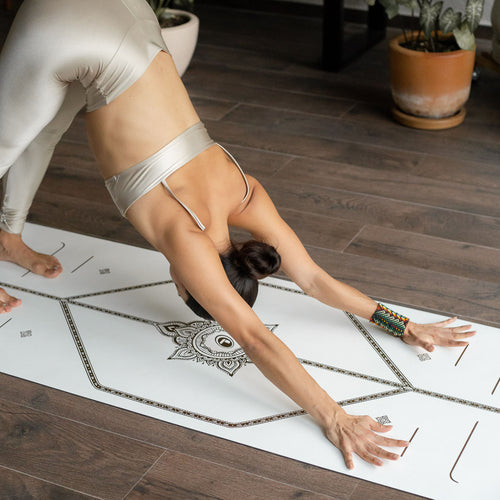
Pyramid Pose is built from the ground up, starting with the placement of your feet, which in turn governs the position of your hips. A mat with alignment guidance is particularly useful here! Once your feet are properly set, both hips will naturally square toward the front of your mat. Pyramid is a strong hamstring stretch, so use blocks under your hands if they don’t reach the ground when you forward fold.
Step-by-Step Instructions for Pyramid Pose
- Begin in a Low Lunge with your left foot forward and your hands on either side of that foot.
- Stack your left knee over your left ankle and rise onto the ball of your right foot.
- Step your right foot in about 12 inches. Pivot on the ball of your right foot to release the right heel to the mat at a 45-degree angle.
- Begin to straighten your left leg as much as you can. Come up to your fingertips or use blocks under your hands if necessary.
- Adjust your feet for stability, which could mean taking your feet slightly wider. If your right heel isn’t on the floor, step that foot further forward until the heel comes to the floor when the foot is turned out 45 degrees.
- Bring your torso upright and hands to your hips to check that both hip points face forward. If they aren’t, widen your feet toward either side of your mat as needed to square the hips.
- Keep a microbend in each knee so that you are not locking out your joints.
- Begin to forward bend over your left leg, coming down with the hips square to the front and a flat back. Stop when you reach the point where your spine begins to round. Bring your fingertips to the floor or use blocks under your hands if necessary.
- After several breaths in a flat back position, you may round your spine to deepen your forward bend if you choose.
- To come out, bend your left knee and bring your palms to the floor to step back to a Low Lunge. Repeat the posture with the right leg forward.
🧘 Tip from a Yogi
When you forward fold, think ‘chin to shin’ instead of ‘nose to knee’ to encourage lengthening your spine instead of rounding it.
Pyramid Pose Basics
Sanskrit Meaning: Parsva (Side) Uttana (Intense Stretch) Asana (Pose)
Yoga level: Beginner
Pose type: Standing
Pose category: Hamstring stretch
Common props: Yoga Blocks
Benefits of Parsvottanasana
- Stretches your hamstrings and calves
- Activates the muscles around your hips and pelvis for stabilization
- Improves core and foot strength
Key Alignment Cues of Pyramid Pose
-
Back Foot Position
Place the inside edge of your back foot at a 45-degree angle. The classic setup is heel-to-heel, but widening your stance improves stability and hip alignment. -
Front Foot Placement
Point your front toes straight ahead with the inside edge parallel to your mat’s centre line. Adjust foot placement for comfort and width. -
Distance Between Feet
Set your feet about three feet apart lengthwise, or adjust based on your leg length. Feet should be closer than in a Lunge or Warrior I. -
Hip Alignment
Square your hips forward. If your hips don’t face the front, try widening your stance further.
Parsvottanasana Beginner Tips
- Use blocks under your hands if you cannot comfortably reach the floor.
- Don’t force the forward fold; listen to your body’s limits.
- Take your feet wider for more hip space and stability.
Preparatory Poses

Standing Forward Fold (Uttanasana)
Stretches your hamstrings and calves in preparation for the forward fold in Pyramid Pose.

Downward Facing Dog (Adho Mukha Svanasana)
Warms up and lengthens the hamstrings, calves, and spine.

Mountain Pose (Tadasana)
Restores balance and resets alignment after the forward fold by grounding your feet and lengthening the spine.
Why We Practice Pyramid Pose
Pyramid is a classic yoga pose and an excellent opportunity to practice combining multiple alignment cues into a single pose. We prioritise keeping your hips facing forward and straightening your front leg, which may be facilitated by taking a wider stance and using blocks. These adjustments make the posture more accessible and beneficial.
Parsvottanasana FAQs
How do I square my hips in Pyramid Pose?
Focus on positioning your feet correctly and widening your stance if necessary. Keep your pelvis facing forward by checking hip points and adjusting as needed.
Can beginners do Pyramid Pose?
Yes. Beginners can practice Pyramid Pose safely by using blocks under their hands and widening their stance. The key is to listen to your body’s limits and avoid forcing the stretch.
How long should I hold Parsvottanasana?
Hold for three to five breaths on each side, focusing on lengthening your spine on your inhalations and deepening your forward fold on your exhalations.
What is Pyramid Pose good for?
Pyramid Pose is excellent for stretching the hamstrings and calves, strengthening the hips and core, and improving balance and body awareness.


