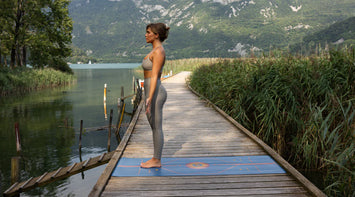
Mountain Pose looks deceptively simple, but it is considered the foundation for all of yoga’s standing poses. While Mountain includes many alignment elements that you can apply to other postures, it's also an ideal place to train yourself in the art of focusing your attention. That’s what makes the difference between standing at the front of your mat and standing! at! the! front! of! your! mat!
The instructions below move from the feet up to your head, describing the positions and actions of each body part. When you have time, it’s nice to slowly check in with your body sequentially. When you practice this way, the alignment becomes a part of your muscle memory so that you can correctly assume the posture more quickly when it’s necessary during class.
As your body awareness grows, you’ll realise that the alignment you’ve established in Mountain Pose naturally carries over not only to standing poses but to seated, supine, and inverted ones as well. Tadasana really is one of yoga’s most important poses.
Instructions
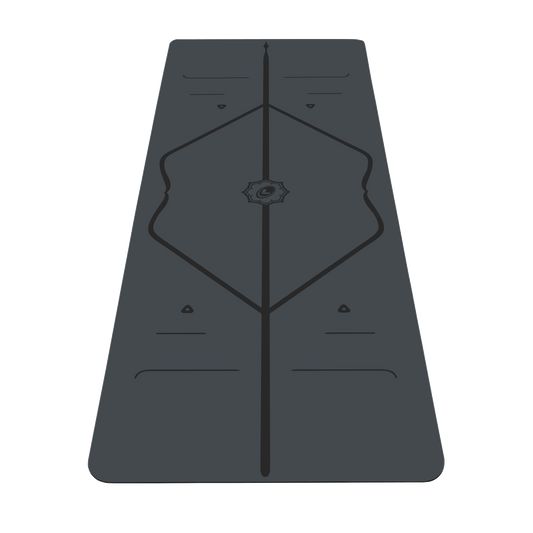
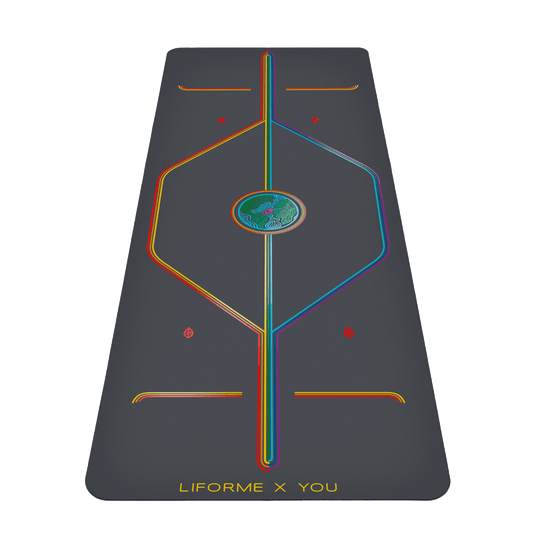
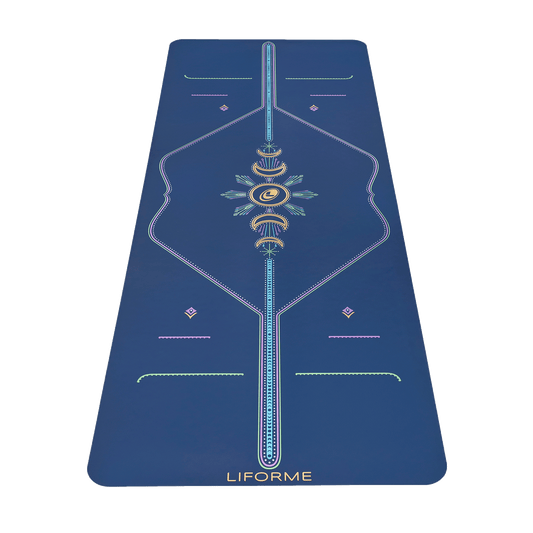
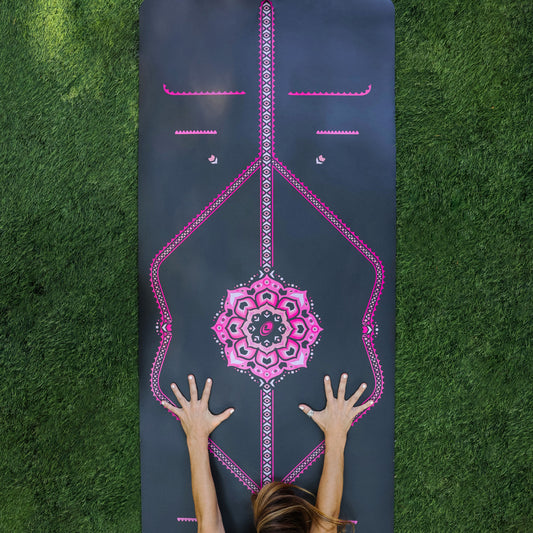
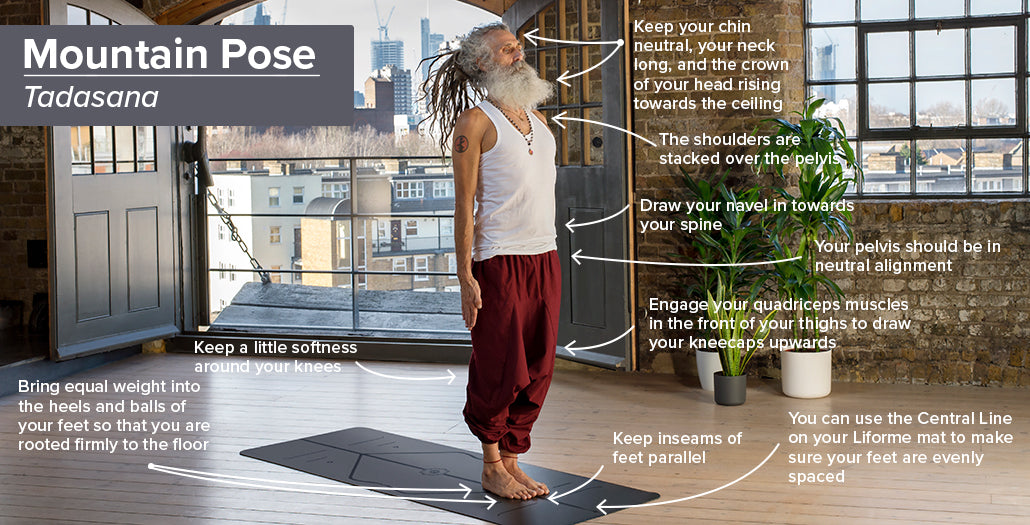
1. Come to a standing position with the feet together, inseams of your feet parallel. Some people like to have the feet touching, others like a little space between them. Choose a position of stability. You can use the Central Line on your Liforme mat to make sure your feet are evenly spaced so your weight is balanced.
2. Lift your toes and spread them wide, then release them to the mat. Bring equal weight into the heels and balls of your feet so that you are rooted firmly to the floor.
3. Though the legs are generally straight, keep a little softness around your knees. This is particularly important if your knee joints hyperextend.
4. Engage the quadriceps muscles in the front of your thighs to draw your kneecaps upwards. This action tends to slip after a few breaths, so try to maintain it the whole time you are in the pose. Rotating your thighs slightly inwards will widen your sit bones but it’s a subtle movement. You don’t want to overdo it and start tilting your pelvis forward.
5. Your pelvis should be in neutral alignment. That means neither tipped forward nor tucked under and not jutting out to either side. The pelvis is stacked over your ankles and the hip points face forward.
6. The navel draws gently in toward your spine as a reminder to keep your core activated.
7. The shoulder girdle is stacked over your pelvis. Roll your shoulders forward, up to your ears, and then down to bring your shoulder blades onto your back. Let your palms open softly to the front or they can face your sides if that is more comfortable.
8. Your chin is neutral, neither tucked nor lifted. Your neck stays long as the crown of your head rises toward the ceiling.
9. Did you lose the engagement in your quads? Go back and see!
When you practice at home, taking a few minutes to stand with attention sets the stage for mindfulness and engagement. In class, you may not get the chance to stand still for as long but make sure you’re not treating Mountain as a flyover pose. Even if you just have a few breaths, you can centre yourself, awaken your attention, and root to rise.


